SPOT HEALING BRUSH and CLONE TOOL ASSIGNMENT
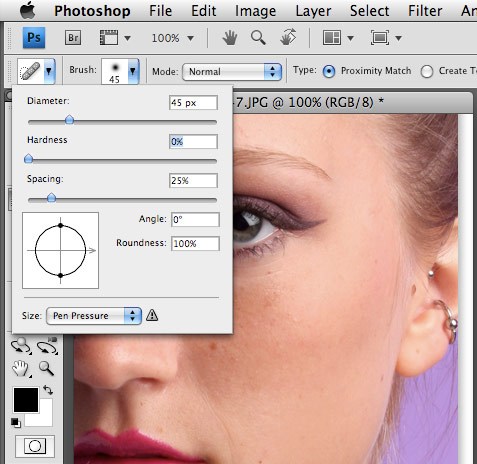
The Spot Healing Brush allows you to fix the dust, scratches and schmoo marks on your photo. This tool paints matching texture, lighting, transparency, and shading to the pixels being healed. Unlike the clone stamp tool, it doesn’t require you to specify a sample spot — it automatically samples from around the retouched area. This tool is easier, but less precise in small or tricky areas of your image.
The Clone Tool also allows you to fix the dust, scratches and schmoo marks on your photos. It allows you to copy texture, lighting and tonal values from one area of your image onto another area of your image. With the clone tool, you pick the sample spot that you want to copy, then paste it into another area of your image.
Do these tools work on every “issue” on every photo, every time? Of course not. Does it work often enough to save you hours of work? Yes!
Here’s the assignment, designed to help you learn to use these tools.
 Step #1 Watch the videos below that demonstrate how to use the spot healing brush tool. Step #1 Watch the videos below that demonstrate how to use the spot healing brush tool.
Step #2 Use a photo that you’ve shot -one that has flaws, such as scratches, dust or dreaded schmoo marks, or download a photo using USE THIS LINK or THIS LINK for this exercise.
Step #3 Using the healing brush tool, clone tool, or a combination both, repair the blemishes on your image.
Step #4 Give your repaired image a new name.
Step #5 Place both “before” and “after” images onto one Photoshop background.
•if your images are horizontal, put them on a vertical (768x1024) background.
•if your images are vertical, put them on a horizontal (1024x768) background.
•color the background of the slide.
•write “Before” and “After” above or on each image.
•put a border or drop shadow around each image.
•Step #6 Write your name, Healing Brush and period # at the top of the slide.
•Step #7 –Save your image as: yourlastname_healing
•Step #8 –Submit your image in the "Healing Brush" folder in Google Classroom.
|


